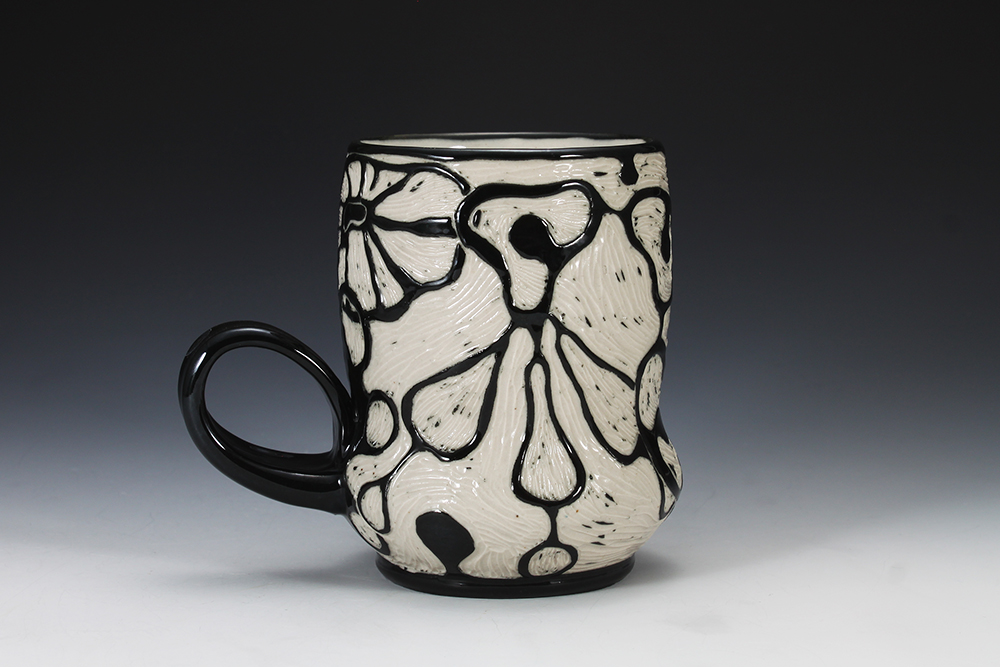
Showing posts with label stencil. Show all posts

Friday, February 08, 2013

A Speck of Sun


After yesterday's post I headed over to my friends studio to hang out with the Claymates and work on some of these fun mini vases.  It was mostly an ugly day yesterday but the sun came out just long enough for me to run these outside for a pic.  After I got home the deluge started up again.  I'm not sure why but the rain really bugged me yesterday.  It made me sort of anxious and then I realized the water was dripping loudly on a bucket outside so I moved that and it was a little better.  I also looked up the weather report for Massachusetts and Rhode Island where they are predicting a historical blizzard.  Suddenly, I didn't feel quite as bad.  I finished off the evening by cleaning up my studio so I can have a fresh start on some more work.  Now if I can just keep up the momentum I will have enough new work that I wont keep missing out on calls for artists.  Have a great weekend!

Thursday, February 07, 2013

My Micro Ceramics Studio


You really don't need a whole lot of space to make your art or craft.  My ceramic artist friend, Jenny Mendes, has a very small studio.  When I moved into my small duplex last summer I was inspired by Jenny to convert a corner of my tiny kitchen into a micro studio.  The space I am working in is only about 5 by 6 feet, or so.  I haven't actually measured it.  The slab roller just barely fits into the space between the refrigerator and the window.  My pottery wheel slides under the slab roller when not in use which also makes it easier to get out my back door which is right next to the window on the right.  On the wall opposite the wheel I have a shelf to hold work in progress but it is usually covered with tools, supplies, slips and random junk, causing me to occasionally spread out into the leaving room or out on the back porch in good weather.  I try to keep it really clean by mopping and wiping my shoes on a rug so I don't track clay throughout the house.  So far it is working great and I am getting a lot made.  Plus, I think everyone should have a great big refrigerator right next to the work space to post all sorts of inspirational material on.  The close proximity of food does not seem to distract me but I do enjoy sustaining my practice with the frequent consumption of dark chocolate!


Unfortunately, my studio does not have a kiln so I fire my work in a variety of places from friends studios to places like Penland School of Crafts.  I've often thought it would be fun to have a mobile studio on wheels since that's what my car feels like when I am transporting supplies, tools, and work in various stages around town.  But I actually really enjoy this chance to get out and be with other people and not be holed up in my studio like a hermit all the time.  I frequently make work in the studios of my friends which is great for socialization as well as inspiration and feedback.  


This is the most recent batch of work that has been happening in the micro studio the past couple of weeks.  These here are still wet today.  I was up until about 1am happily working away on these and watching movies on Netflix.  These will be going into the first soda firing of the 2013.  I can't wait to see how they turn out.  I am aiming to get the firing going next week or at the latest, the following.  


I just decided to incorporate some sgraffito into these pieces inspired by the tutelage of the fabulous Miss Kathy King when I was at Penland last spring.  I can't believe it has been almost a year already since I was there!  But not to fear, I am going back in May and June for a month to do some more studio assisting and I can't wait.  I am going to get to wood fire!  I will be working with Richard Burkett and Joe Molinaro in the first two week session and then I will be assisting Marc Leuthold in a second two week session for beginning and intermediate wheel throwers.  Both of these classes can be found on the Penland website.  I encourage everyone to take a class a Penland.  It is a blast!  

But wait, that's not all.  I will also be assisting Jenny Mendes in her workshop, Surface Navigation, at Arrowmont School of Arts and Crafts in July.  It is going to be a very, very busy, busy year as I will also be traveling to Houston for the annual ceramics conference, NCECA, and I will be packing and moving across the country to go to grad school.  Wish me luck and lots of energy!


Monday, January 14, 2013

Soda Love


Remember a couple of posts ago when I was working on my paper stencil patterns at my computer table?  Well, here are the beauties!  Yes, it has taken me almost a month to get them photographed.  The firing was right before Christmas!  I think I have an aversion to my somewhat bulky photo shoot set up.   
Time to tackle that problem and make a mini version that doesn't take over my tiny living room.


But all that aside, I am really excited with the progress I am making with these.  It was a crazy long firing because the kiln door bricks and furniture got wet in a wild downpour so we had to "dry" out the kiln first.  It went for sixteen or eighteen hours or so when it should have only been about 12.  We did finally get the kiln firing much more evenly but I messed with the flew damper enough to knock a bunch of junk down into some of my pieces.  I've ground out a bunch of it and will try touching up the glaze and re-firing them in another cone 10 firing, or even cone 6 electric to see how that might work.


I'm busy making more work so that hopefully I can get another soda firing going by the first of February. Keeping my fingers crossed about that one.  I'm not exactly sure if I'll have access to the same kiln but if that doesn't work out I can always take some work out to Penland!  Yep, I'm headed out there again in May for a month to do some more studio assisting.  I can't wait!  And I am also going out to Arrowmont for my very first time!

Side A
Here is another one of my favorite pieces that I made last fall.  I stuck this in with my besties and started using it right away.  Somehow I just forgot that I wanted to document it.

Side B
I actually made two of these and the other one was fabulous also, that is until I sacrificed it to the soda kiln.  I was so positive it would come out great but I was not at all happy with it.  The underglaze fumed and bled and the clay body went very grey.  It's interesting and I'm sure someone would like it but me?  Not so much.  I'm glad I took this photo.  Something about seeing them in the right light on a nice backdrop has freshened my determination to make a few more.  


Monday, October 01, 2012

Paper Clay Adventures


Right now I feel like I am participating in a mini, self-imposed, paper clay residency.  I got really fascinated by this when Rebecca Hutchinson taught at CSU Summer Arts in July.  Rebecca encouraged me to try this technique of stenciling, painting, and silk screening on a slab of plaster and then pouring a layer of paper clay slip on top.  I was so wrapped up in my installation project that I never got around to trying this out.  So now I am making up and giving it a whirl.


I want to expose a screen next but first I thought I would start off with a hand cut stencil.  I actually forgot about drawing directly on the plaster so I probably would have started with that.  Here I am using a thick porcelain slip made from my throwing leftovers to which I have added toilet paper.  I took a small amount of it and tinted it with turquoise stain.  


I had to let go of my ocd, perfectionistic tendencies with this whole process.  The stencil is not precise and the slip kind of likes to spread under the stencil a bit.


The crazy part is when you pick up the bucket of paper clay slip and pour a thick layer over the whole slab, obscuring the image in the process.  By the way, don't stop pouring and run to get your camera as the leading edge of the slip will start to dry out and will leave a line of demarcation after you pour the rest of the slip.  This line will have a tendency to want to crack later when you are manipulating the slab.  Good to know, just pour it all at once and spread it quickly and thick.


After a few hours, depending on weather (it was a hundred degrees when I did this), a half inch thick pour of slip will have turned into a quarter inch thick sheet that can be peeled pack from the plaster.  I was so excited to see that it actually worked and didn't tear.


I had some extra so I used a commercial stencil on this smaller plaster slab.


This close up shows the paper fibers pretty well.


So, I learned that it is good to plan what you are going to do with your sheet of clay before you make it so you aren't running around scratching your head while your sheet starts to dry.  I am not so sure that utilitarian pieces are the best use of this process but I didn't have a sculptural project in mind.  I also learned that paper clay cuts a whole lot easier with scissors than with a blade or wire.  


I love this "rolled" foot.  I enjoyed experimenting with this because it forced me to let go.  I also like that their where certain things the porcelain slab would and wouldn't do.  Because of this,  the evidence of the process is necessarily revealed such as the cracking of the surface of the clay as it was formed.  Hmm, I'm kind of liking this.  It will be interesting to see where it leads me.  

If you want to know more about working with paper clay, an excellant resource is Rosette Gault's book on the subject.